Two-factor Authentication
Two-factor authentication (2FA) is a way to improve security, and prevent unauthorized persons from accessing user accounts.
1. Log in to your account.
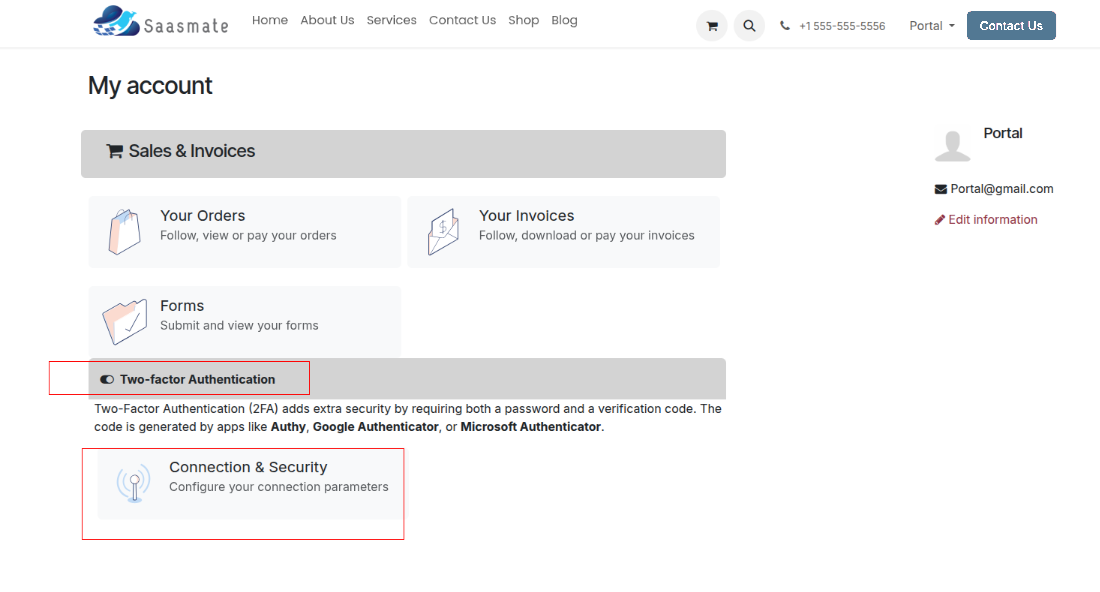
2. "The 'Connection & Security' menu includes several features such as:
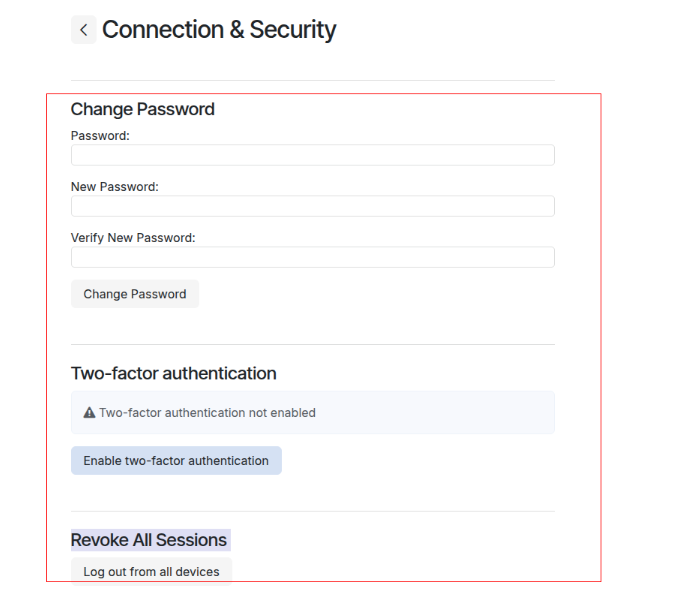
3. Steps to Enable change your password:
4. To change your password, click on the 'Connection & Security' menu, enter your current password, and then set a new password.

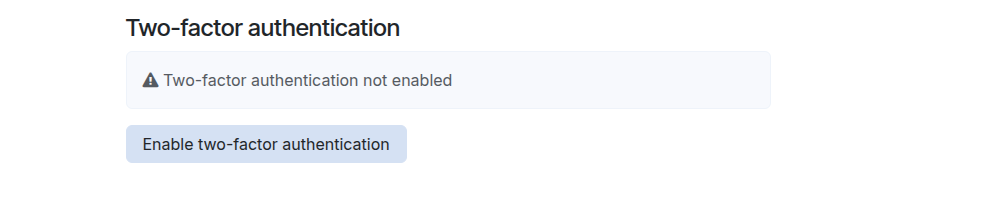
5. Steps to Enable Two-Factor Authentication
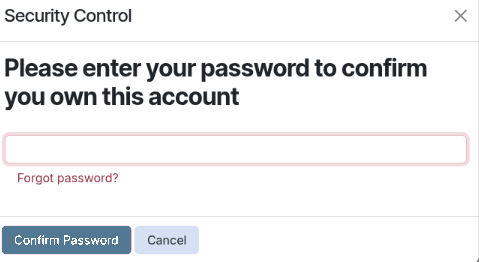
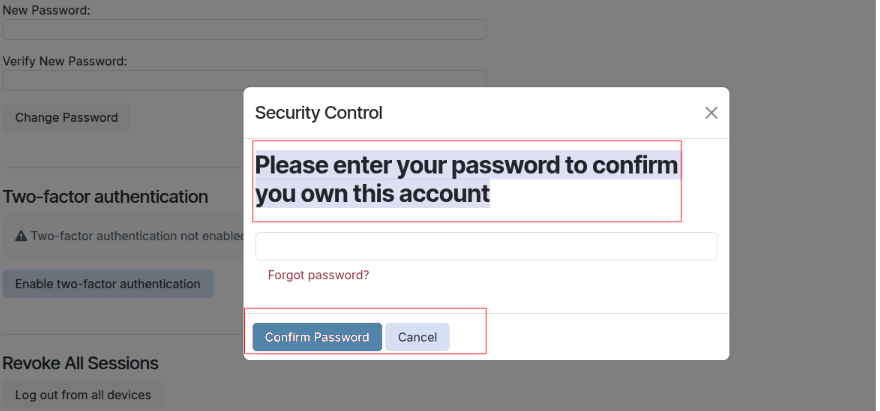
6. Click on 'Two-Factor Authentication' Enter your account password after Click the 'Enable Two-Factor Authentication' button.

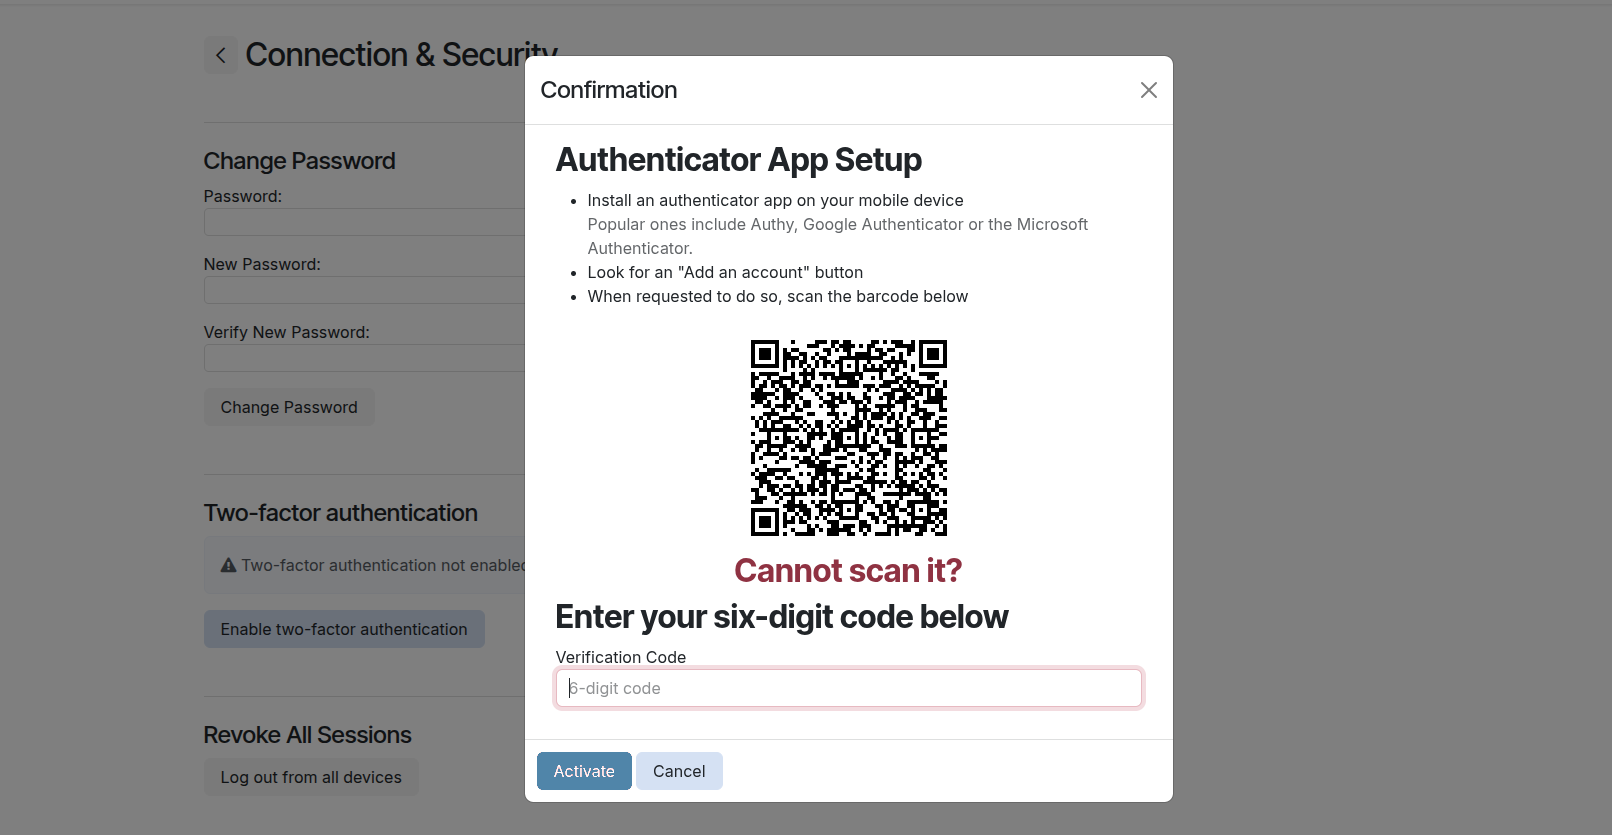
7. After clicking the 'Enable Two-Factor Authentication' button, a confirmation window will pop up. Scan the QR code using Google Authenticator or Microsoft Authenticator, then enter the verification code.
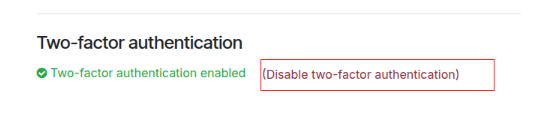
8. The Two-Factor Authentication successfully enabled.

9. Deactivate for Two-Factor Authentication successfully to click to (Disable Two-Factor Authentication) it will be disabled.
10. Steps to Revoke All Sessions:
11. Go to the 'Connection & Security' menu, after Under the 'Revoke All Sessions' section, click on 'Log Out from All Devices'.
12. A confirmation popup will appear asking you to verify your identity.Enter your current password to confirm that you own the account.Once confirmed, you will be logged out from all devices except the current session.

Submit a Ticket
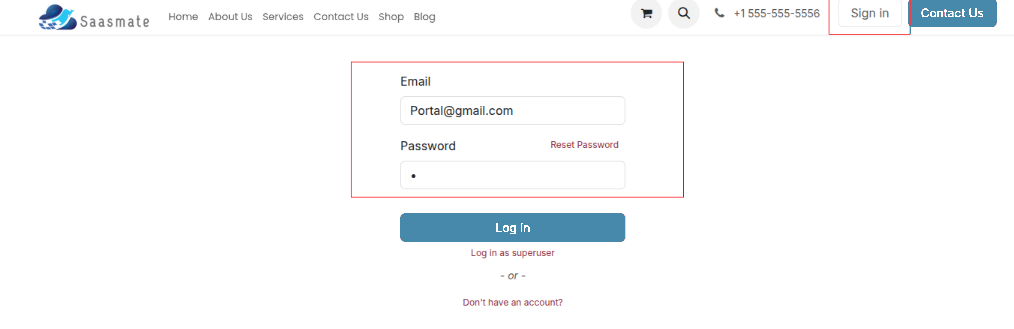
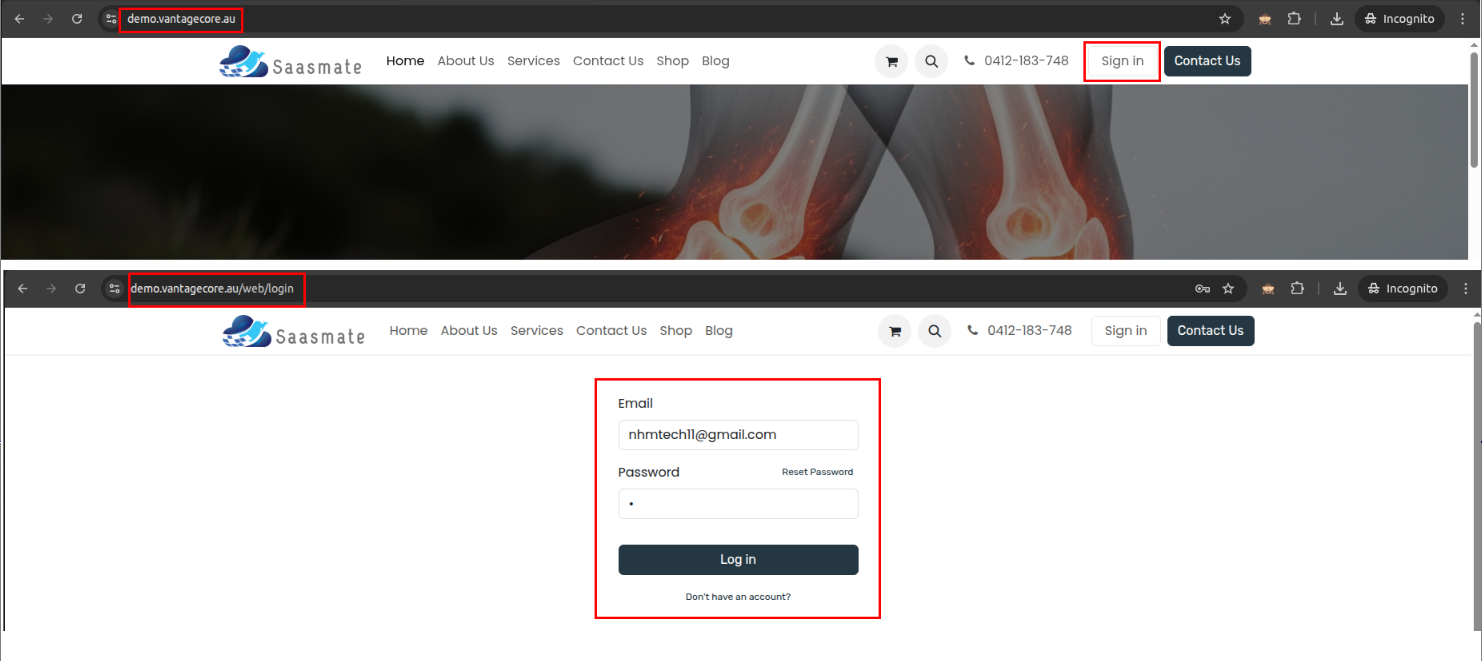
First, you need to log in to your account to access the Help Desk Portal.
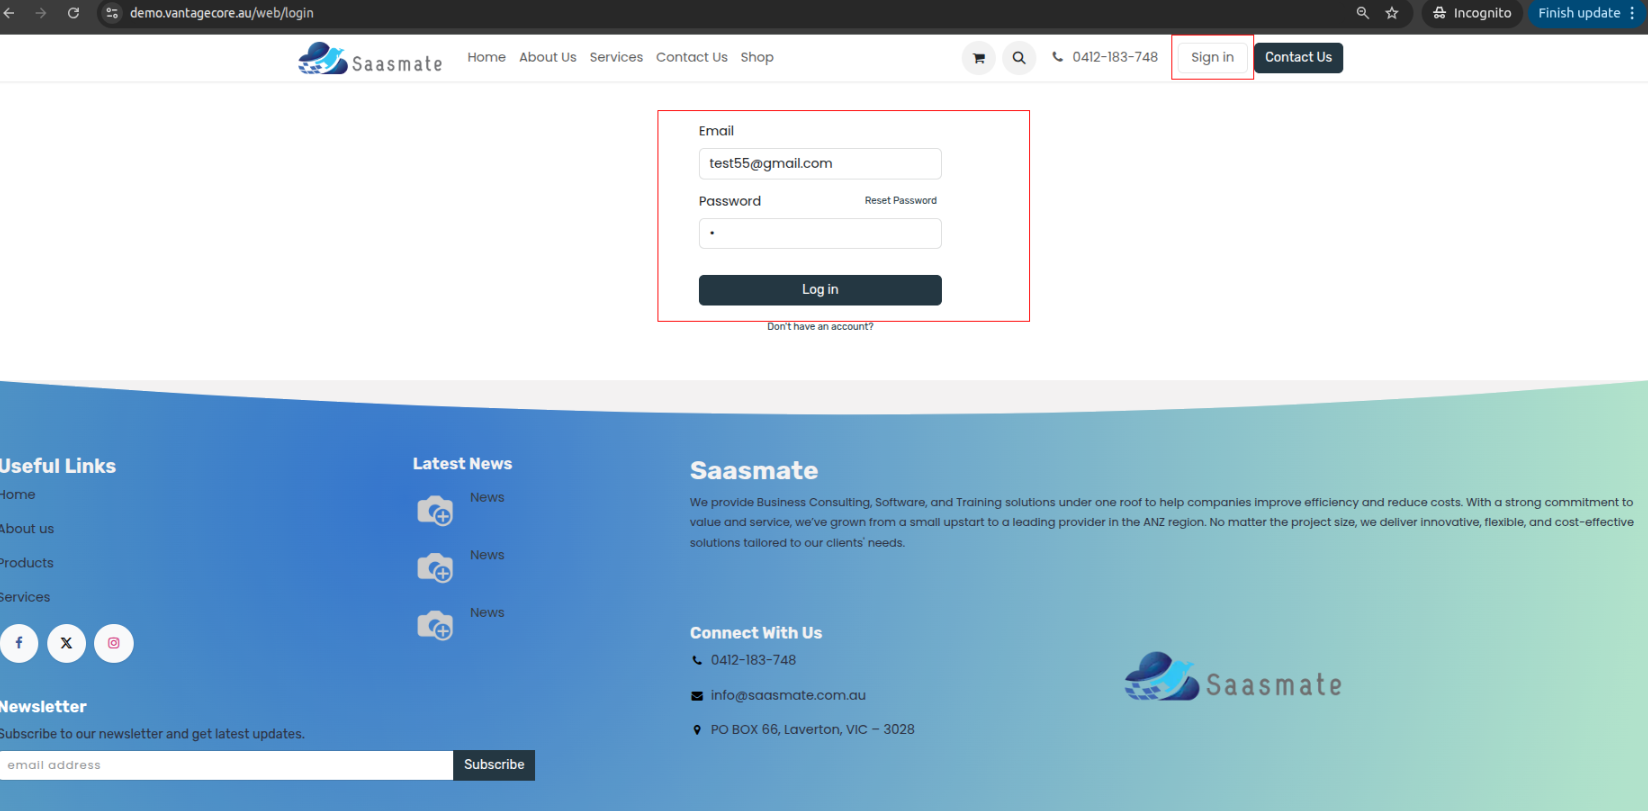
Then, Click on Sign in.
After signing in, you will be redirected to the My Account page. Then, Click on the Submit a Ticket button.
Or
If it doesn't redirect, simply click on your name located on the left side of the Contact Us button. A dropdown menu will appear—select My Account from the options.
After clicking, the HelpDesk form will open. You will need to fill out all the required fields:
- Name: The customer's name will be automatically fetched.
- Email: The customer's email will be automatically fetched.
- Subject: Enter the subject or matter of the request.
- Priority: Select from the dropdown options: Very Low, Low, Normal, High, Very High.
- Attachment: You can attach various types of files, including images, videos, PDFs, and ZIP files.
- Description: Provide a detailed explanation of the issue or request.
Finally, the filled form view output like below.
After submission, the following message will appear
My Tickets
Click on the Go to Home button to be redirected to the home page.
You can see the My Tickets button along with the total Ticket count. Click to enter.
We can see the view like below, Click the Ticket Number to enter.
We can see the view like below:
In the History section, you can view the conversation between you and the respective doctor.
You do not need to reply or send messages here, as you will also receive all messages via email. Both email and in-app chat messages are saved here for reference.
There are two ways to communicate:
- Chat inside the software
- Chat via email
Messages from both methods are stored in the History section.
Example: Chat inside the software:
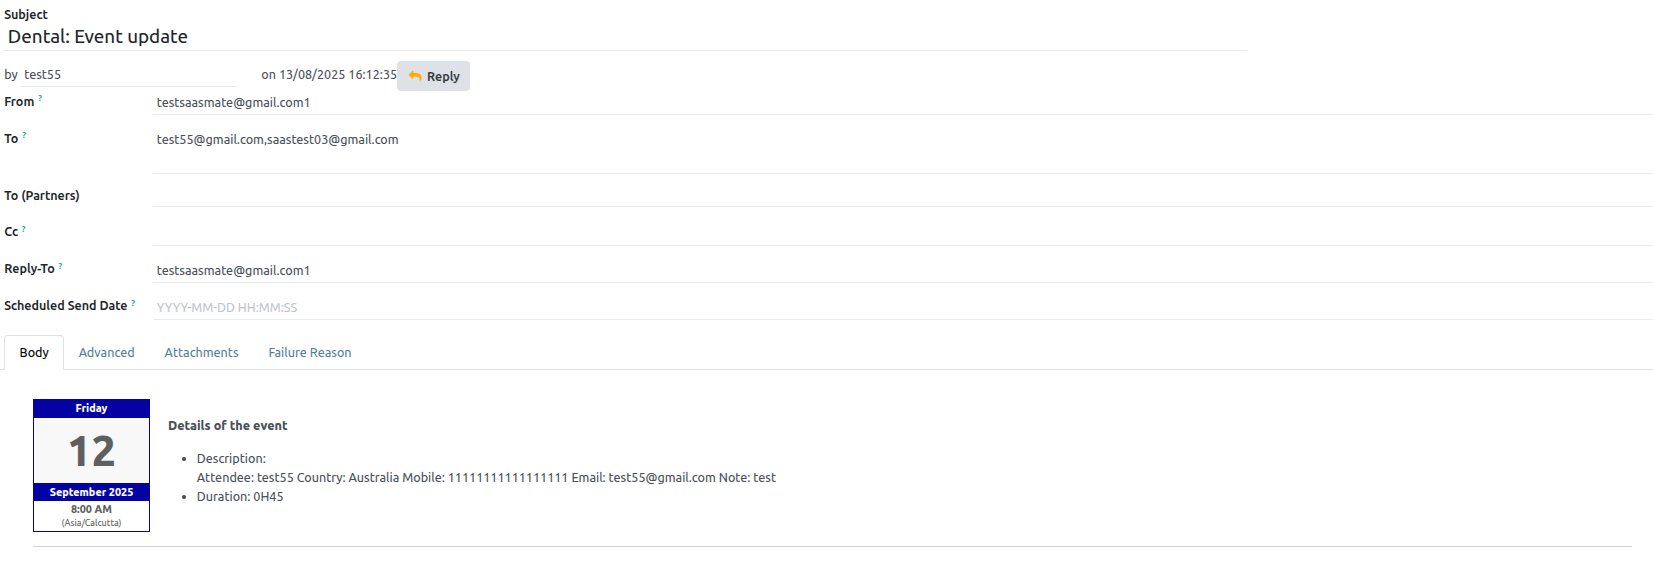
Example: Chat via email:
Below is a screenshot of the email conversation:
Online Appointments
Online Appointments allow customers to connect with providers virtually through platforms like Zoom or Google Meet. They provide flexibility, saving travel time while maintaining face-to-face interaction. Secure links and reminders ensure smooth and convenient virtual sessions.
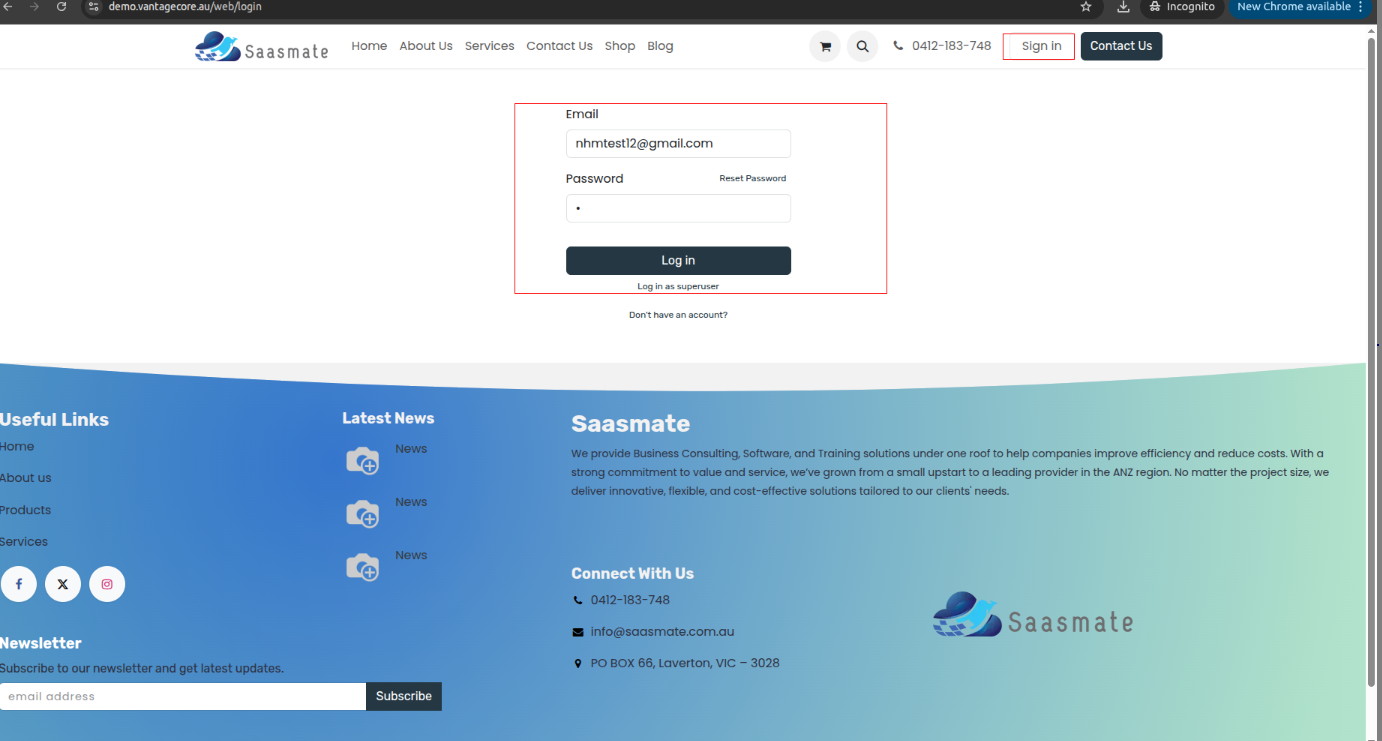
Step:1 Kindly sign in and enter your account username and password.
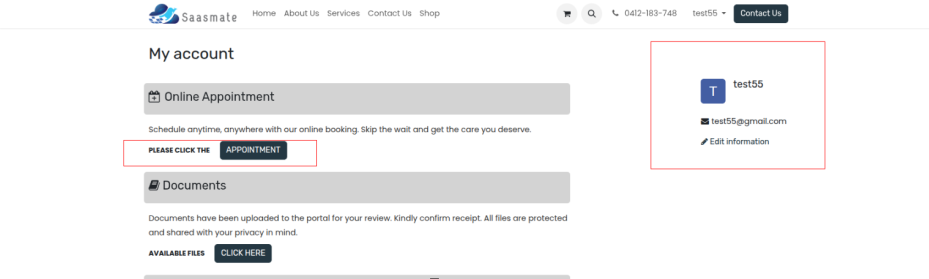
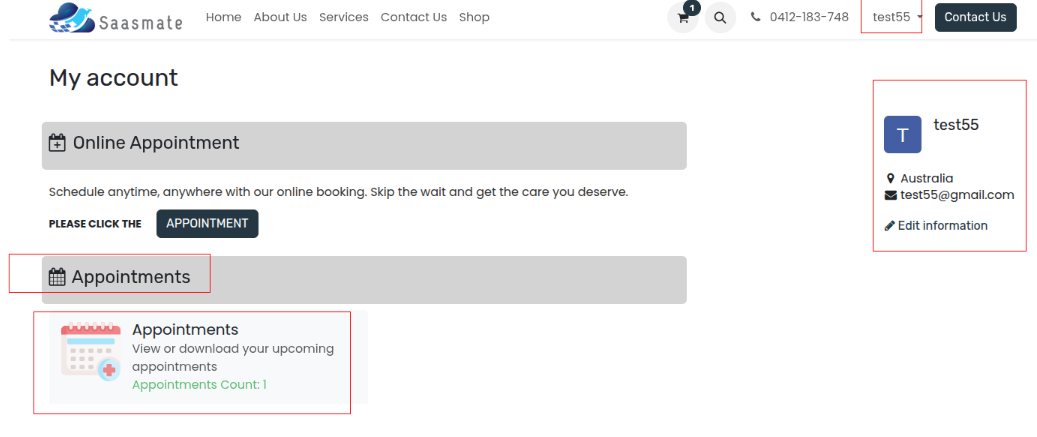
Step:2 This page shows your account information. If you need to book an appointment, please click the ‘Appointment' button.
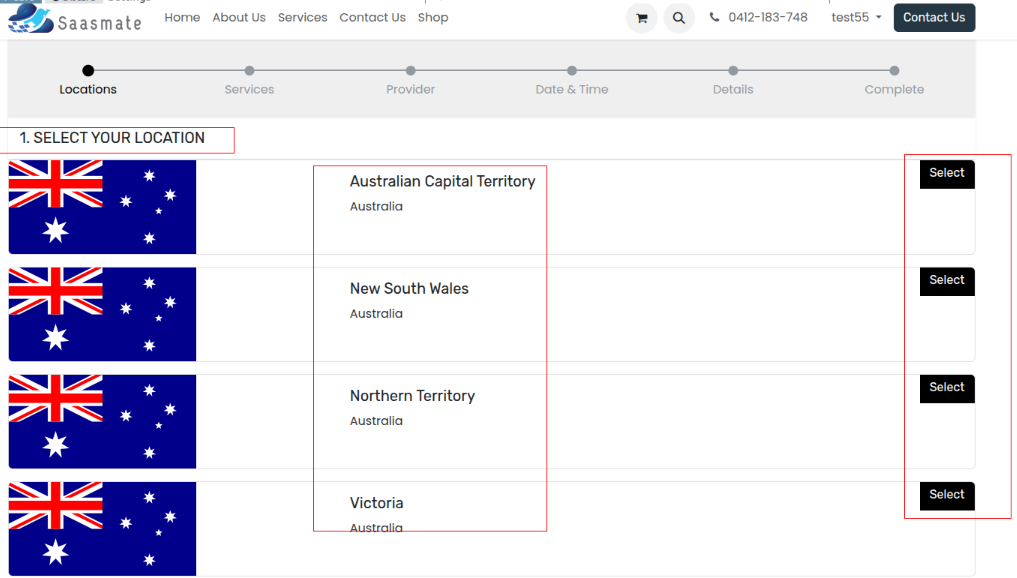
Step:3 Multiple locations are available for your appointment. Please select your preferred location.
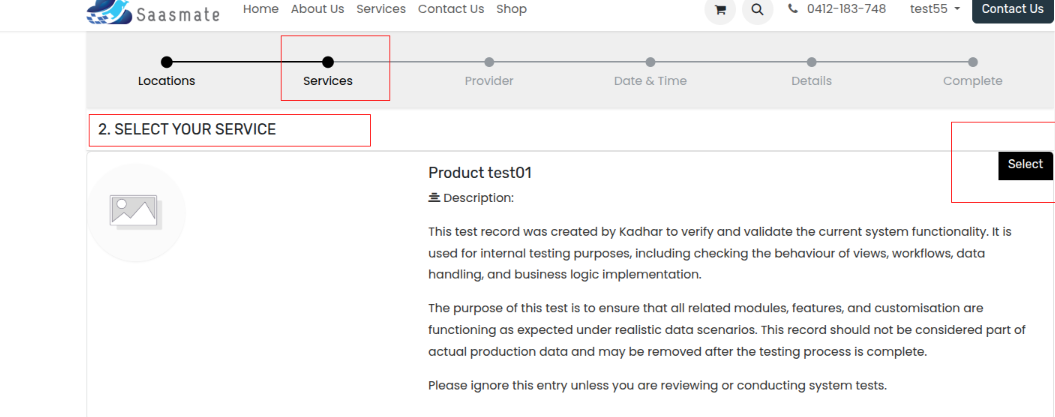
Step:4 You have now moved to the Services step. Please review the available options and select the service you require for your appointment
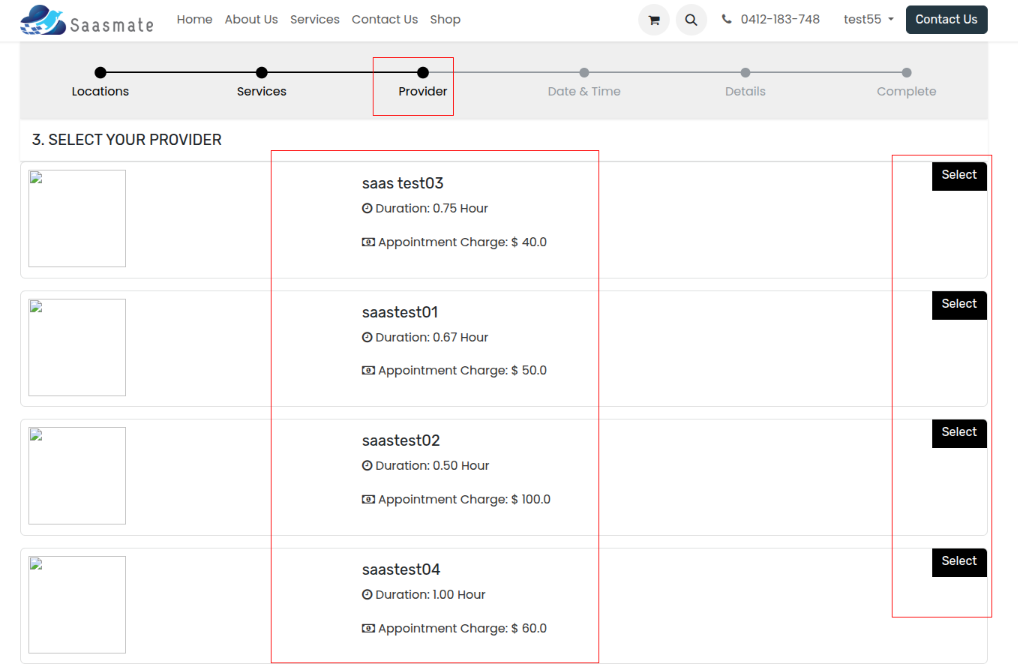
Step:5 You have now moved to the Provider step. Please review the available options and select the Provider you require for your appointment.
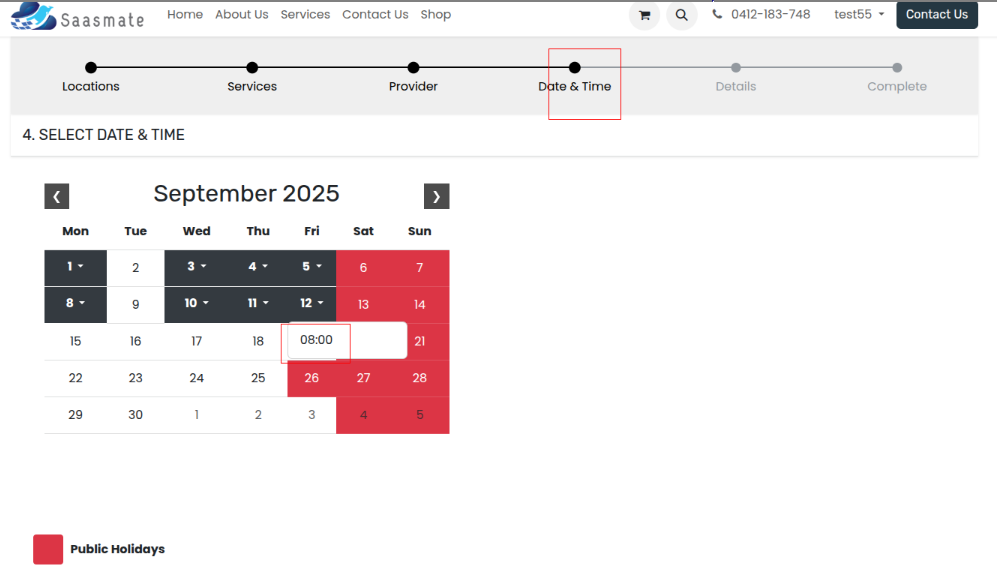
Step:6 You have now moved to the Date & Time step. Please review the available appointment dates and select your preferred date and time.
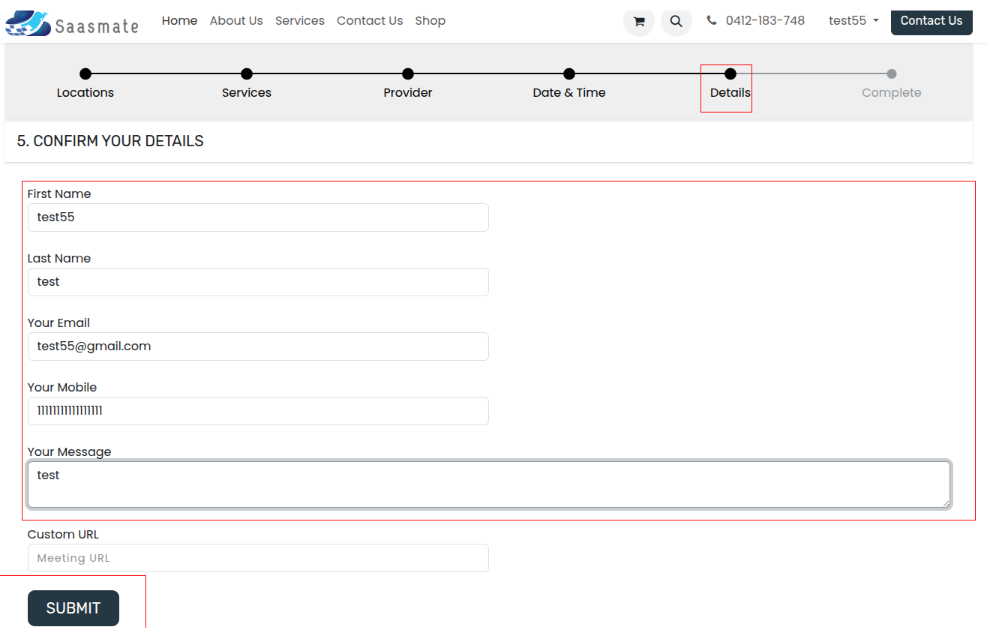
Step 7: Details
- You are currently on the Details step in the booking process.
- All the fields — First Name, Last Name, Email, Mobile Number, and Message — are required.
- First Name – Your given name, used to identify your booking. (Required)
- Last Name – Your family name or surname. (Required)
- Email – Your valid email address where booking confirmation and details will be sent. (Required)
- Mobile Number – Your contact phone number, used for reminders or urgent updates. (Required)
- Message – Any extra notes, requests, or information you want to share with the provider. (Required)
- Custom URL – A meeting link (e.g., Zoom, Google Meet) if your appointment will be held online. (Optional — only if applicable)
- Click Submit to confirm and proceed to the final step (Complete).
Step:8 After clicking Submit, your appointment details will be displayed on the screen for confirmation.
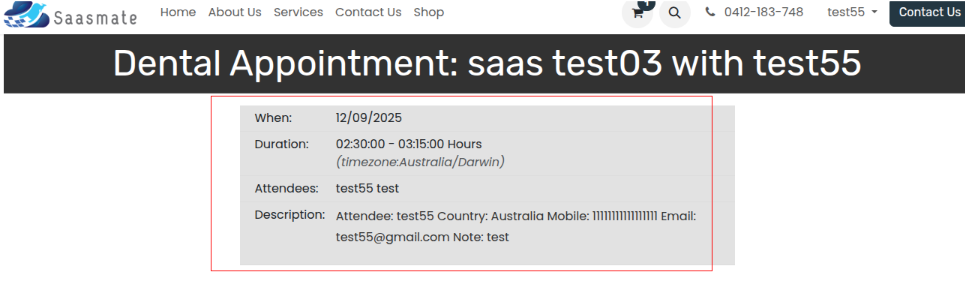
Additionally, the same appointment details will be sent to your email address.
Appointments
Appointments help you manage and schedule meetings with customers efficiently. They include details like date, time, participants, and purpose of the visit.
- View All Appointments – Go to My Account → Appointments to see all your bookings, including past and new.
- The appointments section shows the total number of bookings linked to your account.
- Each appointment can be opened in a form view to see complete details like date, time, service, and location.
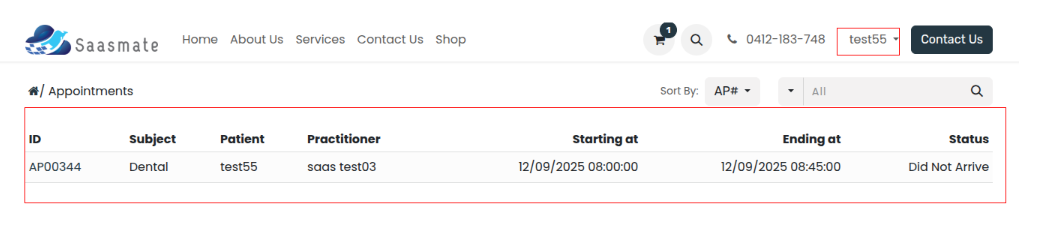
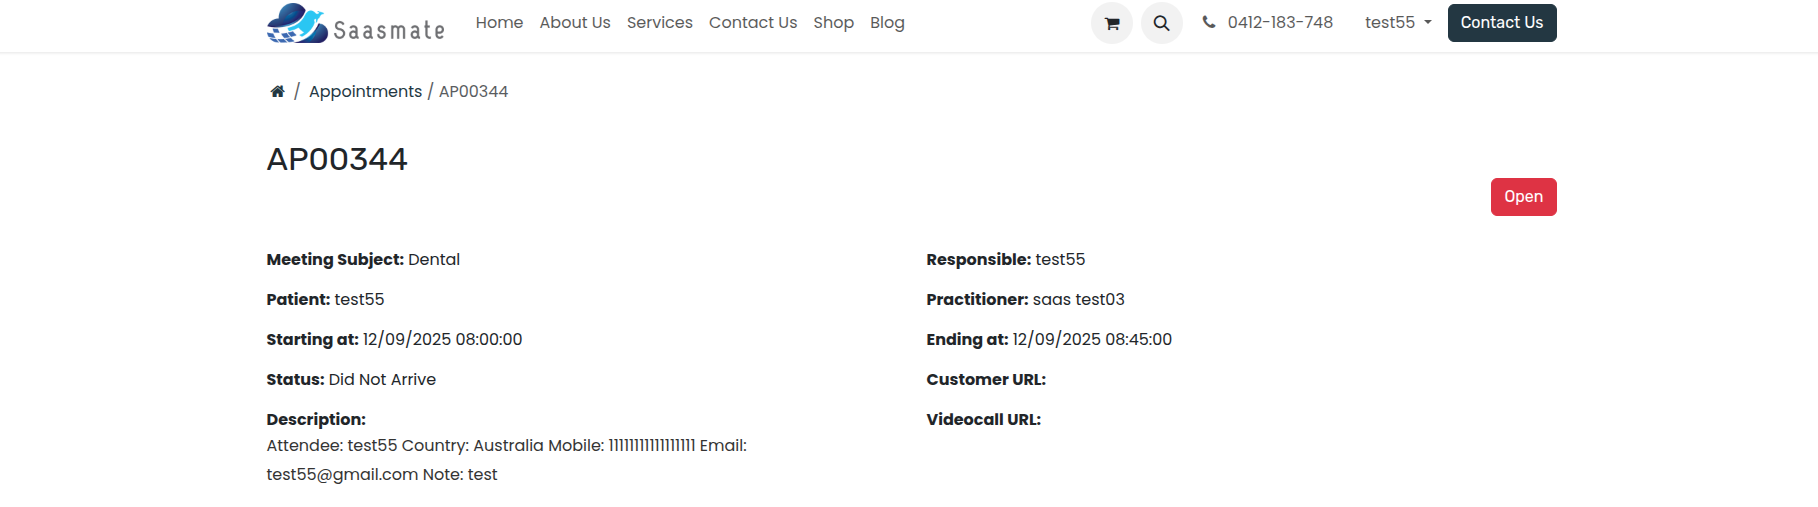
- This appointment is scheduled for Dental consultation with practitioner saas test03. The patient, test55, was expected on 12th September 2025 from 08:00 AM to 08:45 AM. The status of the appointment is marked as Did Not Arrive.
- The appointment was registered under the responsibility of test55, with the attendee’s details including country Australia, mobile number, and email provided. Additional notes mention: test.
Exercise Plan
Exercise Plans allow patients to view all exercises assigned to them in the portal. Each plan shows its status Future, In Progress, or Completed—based on the start and end dates. Patients can track progress and generate PDF reports for exercise details or instructions.
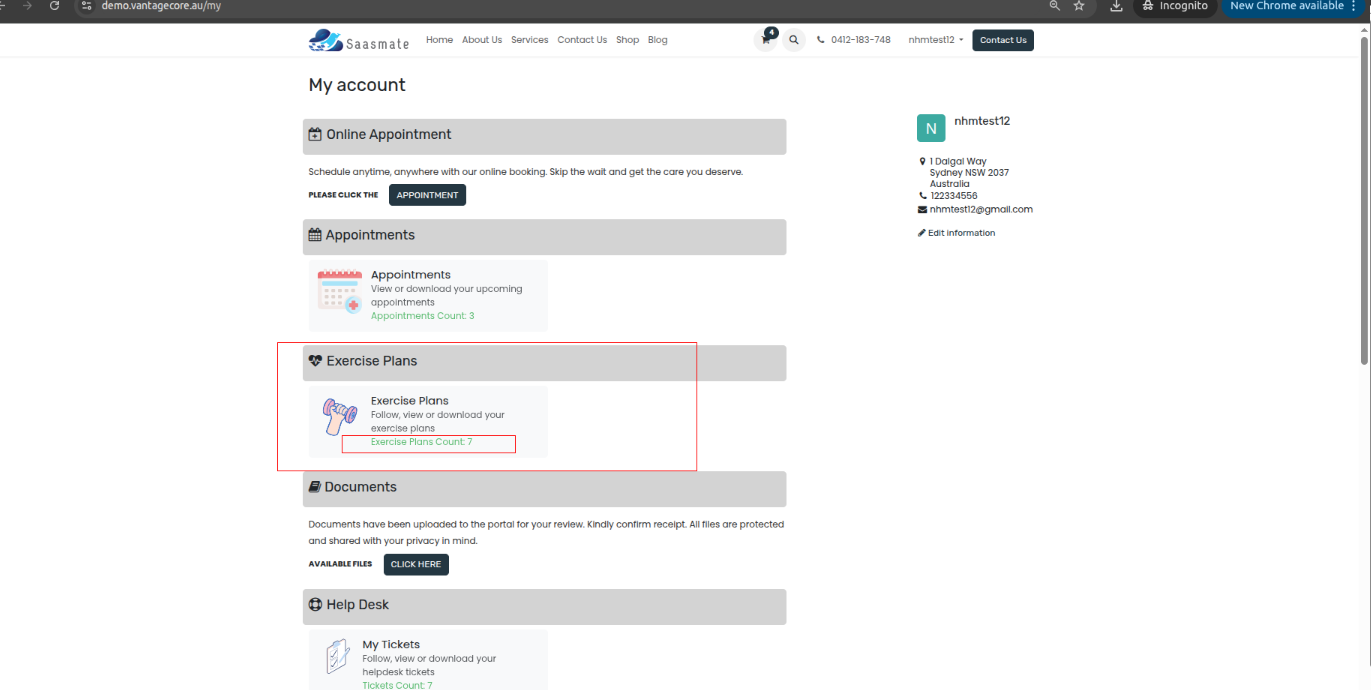
1. Log in to your account.
2. The "Exercise Plans" section has been added to the portal. It displays the exercise plans along with the total count of exercises assigned to the user.
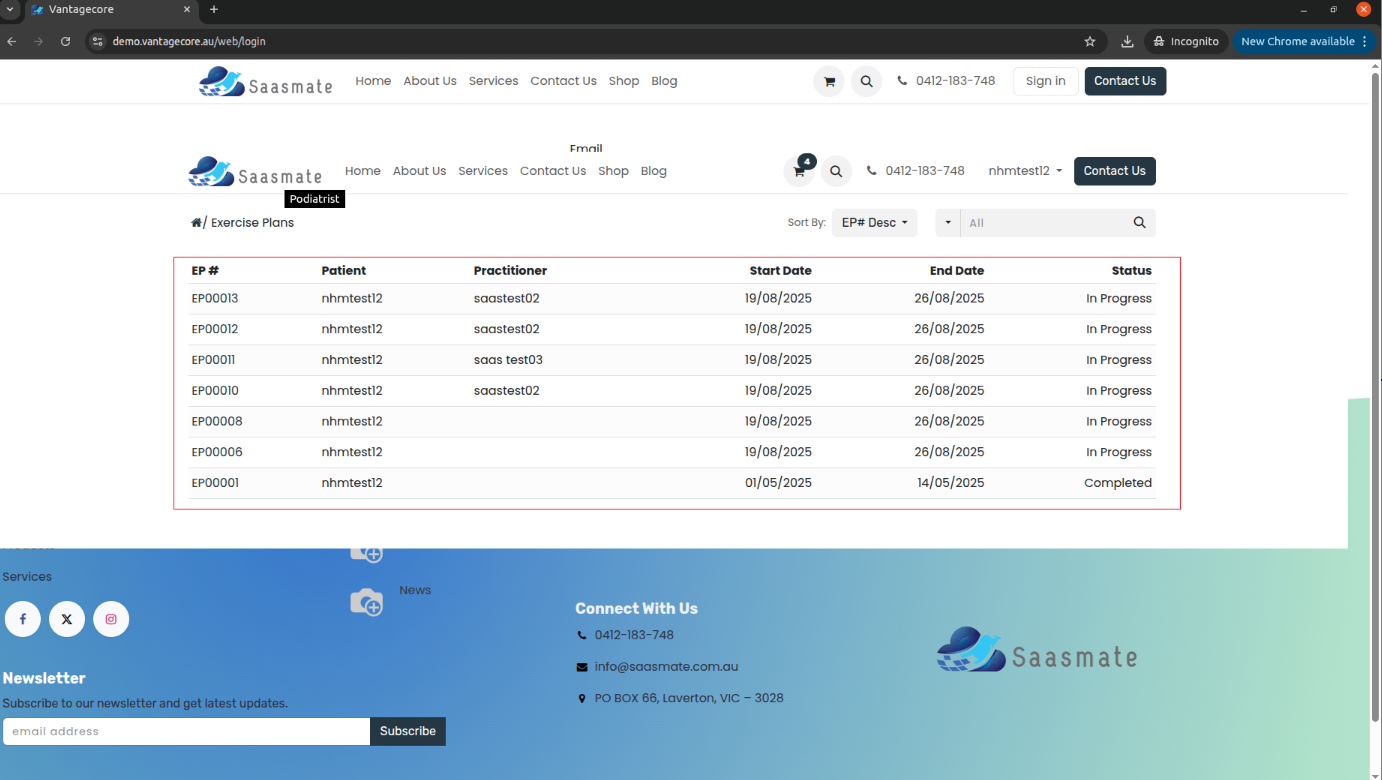
3. When 'Exercise Plans' is clicked, it displays a tree view of the Exercise Plans, showing the status in both the tree view and the portal view,
4. The tree view shows: EP# (Appointment Number), Patient (Patient Name), Practitioner (Practitioner Name), Start Date, End Date, and Status (the current status of your application)
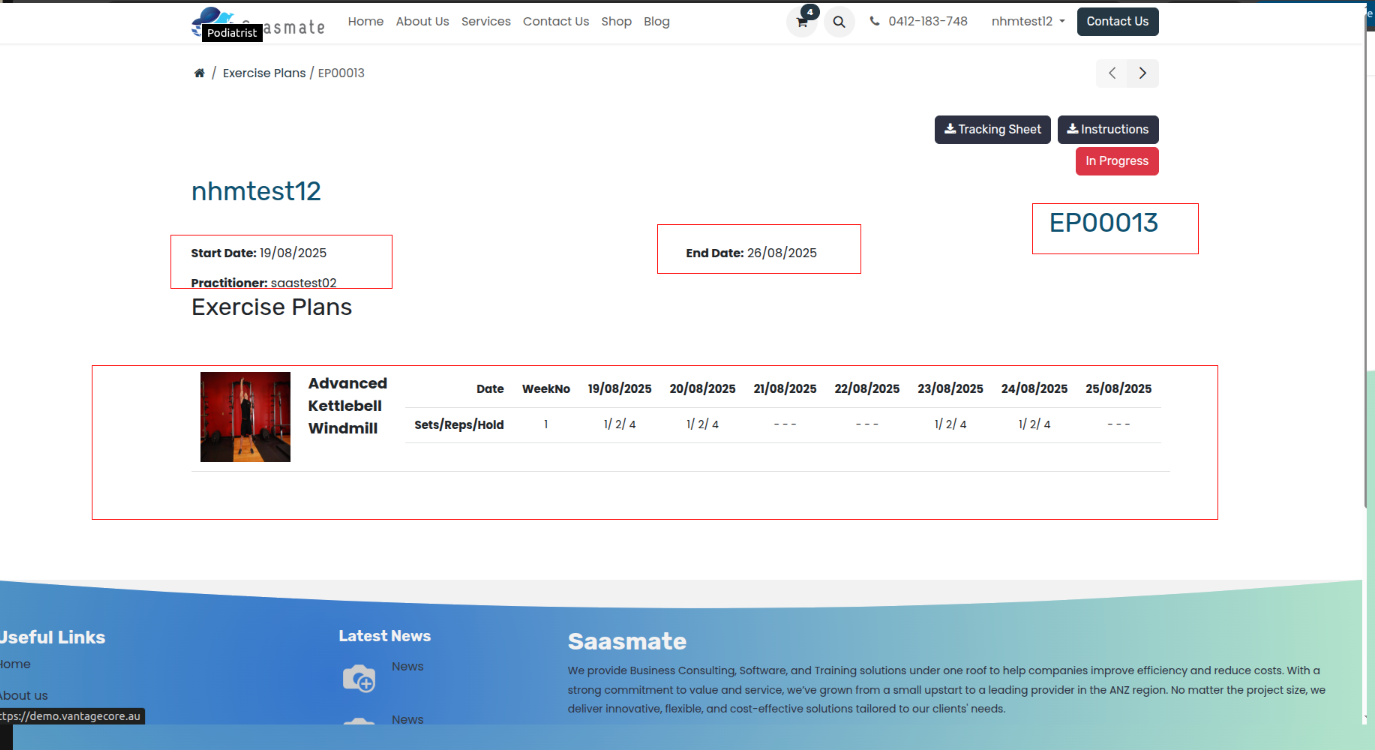
5. This is your appointment. It includes details such as the doctor's name, assigned workout, date, and workout type (like sets, reps, or hold). Everything is listed here for easy access
6. When we click on the 'Tracking Sheet' button in the website view, a PDF report is generated containing all the details of the exercise plan.


7. When we click on the 'Instruction' button in the website view, a PDF report is generated containing all the details of the Patient Instruction.


Documents
First, you need to log in to your account to access the Internal Documents Portal.
Then, Click on Sign in.

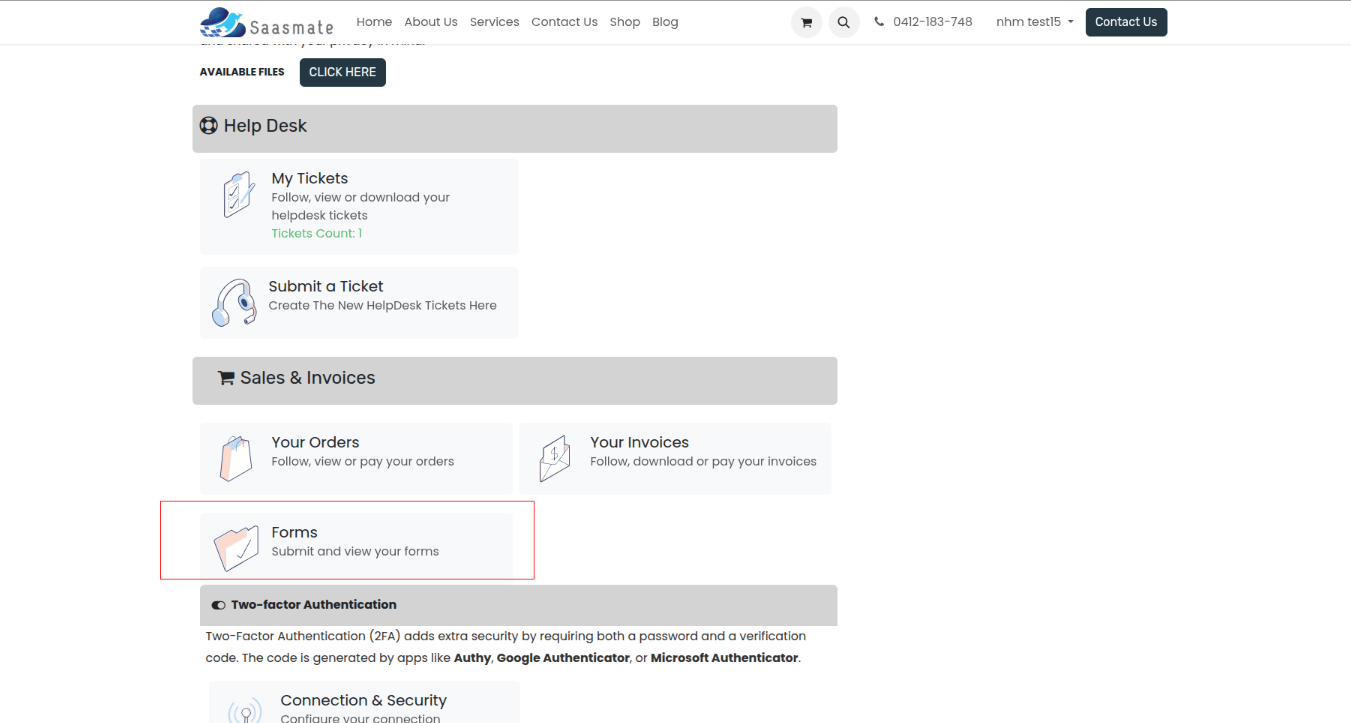
After signing in, you will be redirected to the My Account page. Then, Click on the CLICK HERE button.
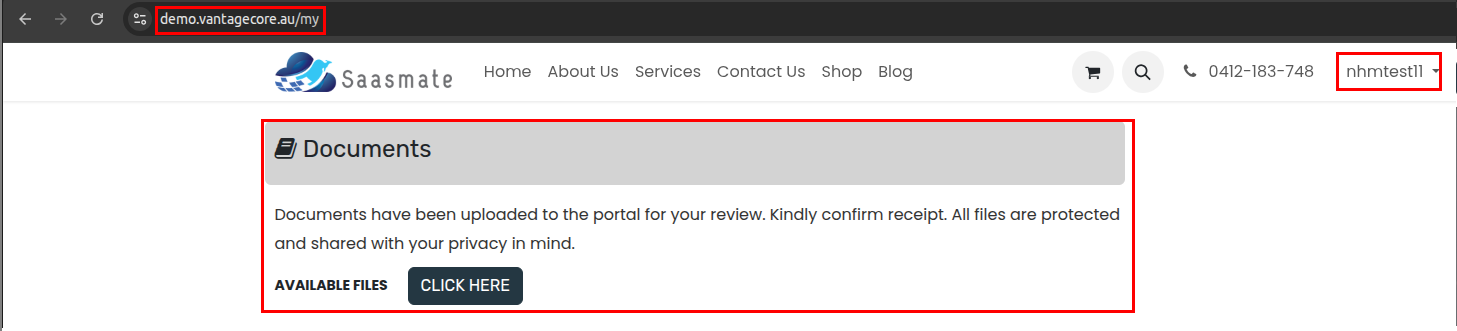
You can also view the URL/Video/Image/Documents/ZIP_file shared by internal users.
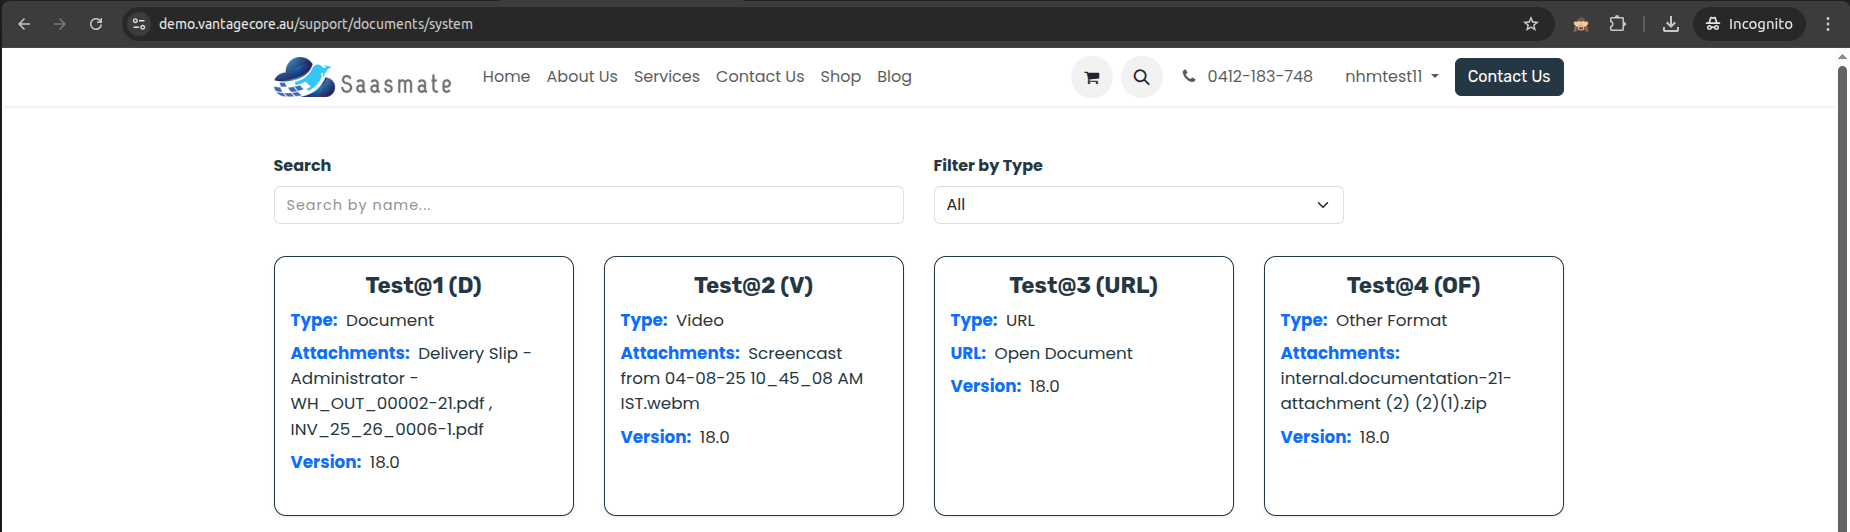
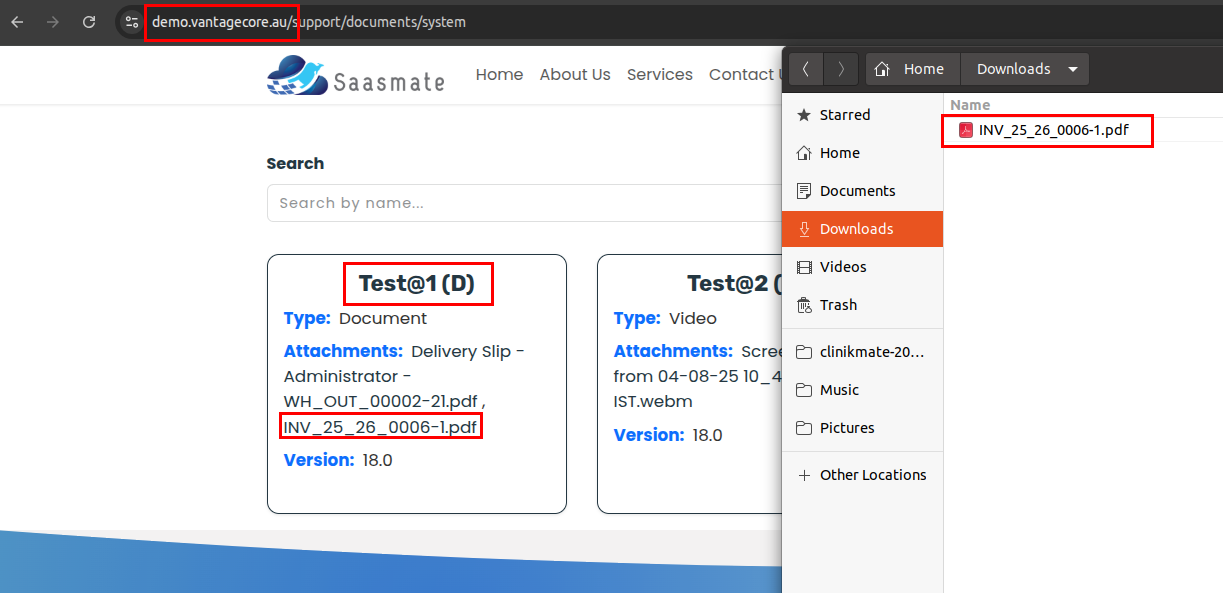
You can easily download or access the documents shared by internal users. Example: Test@1 (D)
Forms
Forms provide structured layouts for entering and viewing patient or exercise information. They capture essential details such as dates, status, and related instructions. All data entered in forms is used to track, manage, and generate reports within the portal.
1. Log in with your account.

2. After logging in, your account will open. Then click the "Form" menu. All forms are available there.
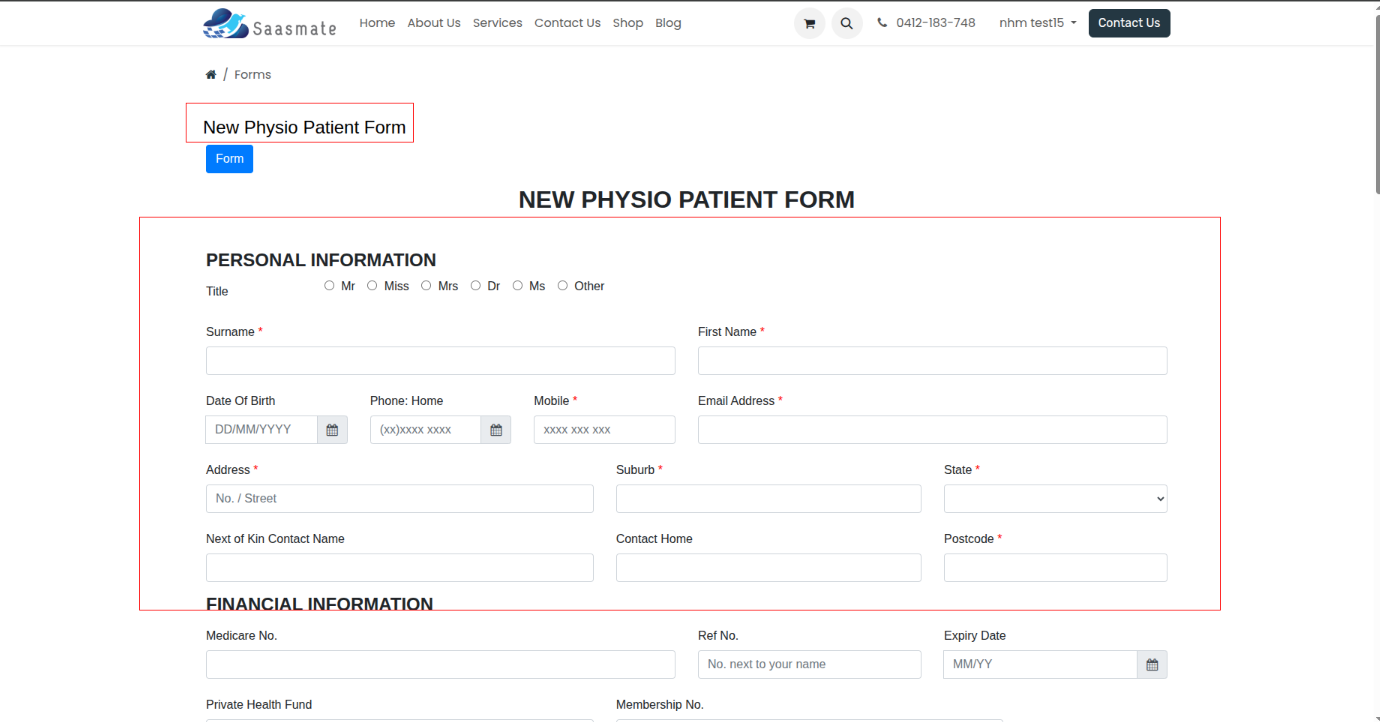
3. The Forms menu is now visible. Click the "Submit a Form" button to view all available forms. It will show all forms—just click the one you need, and that form will open.

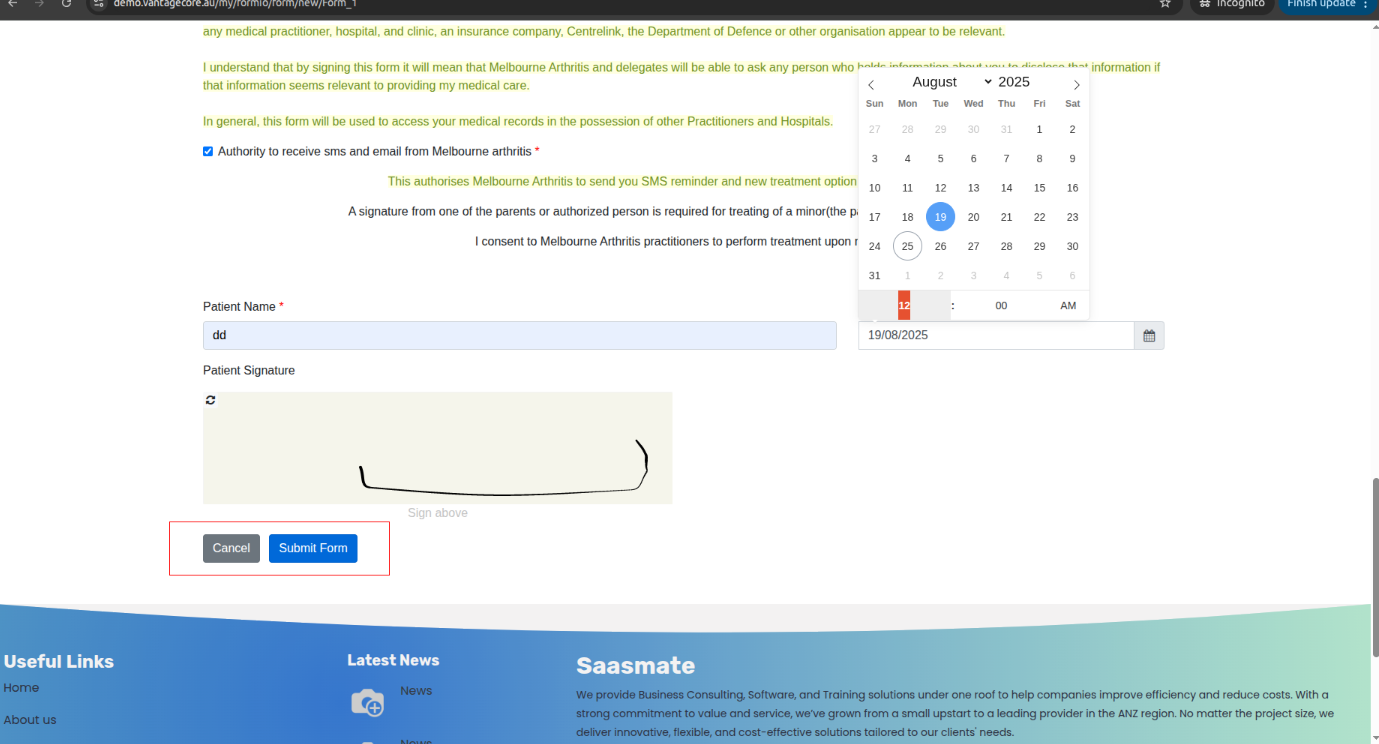
4. Fill in all the details in the form.
5. Once you have filled in all the details, click the "Submit Form" button — all the form details will be submitted. If you want to cancel, click the "Cancel" button instead.
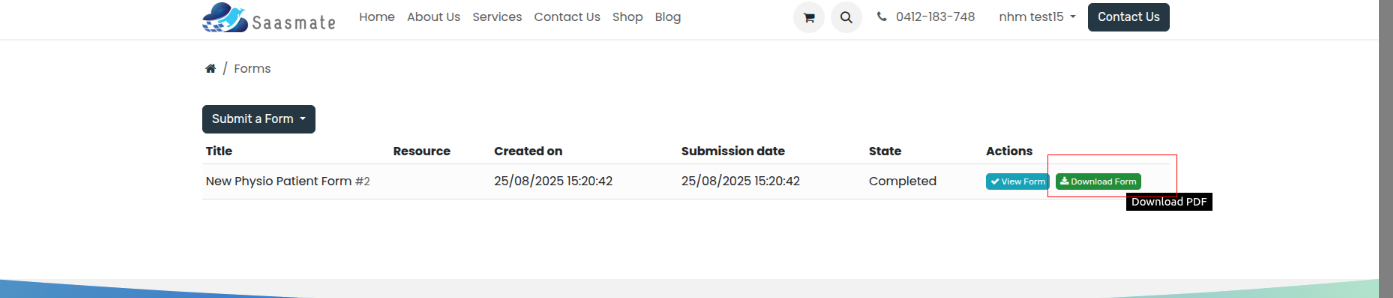
6. After submitting, go back to the Forms menu to see all your submitted forms.
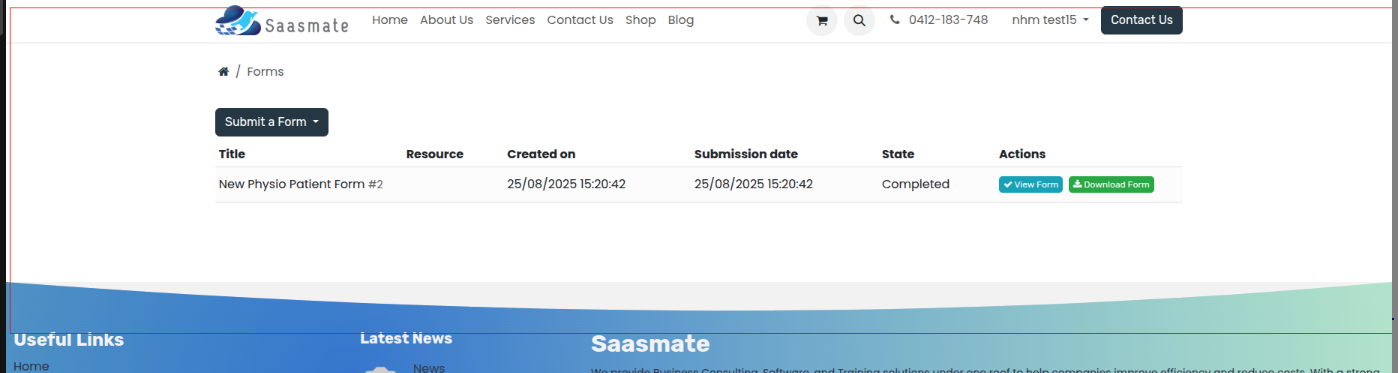
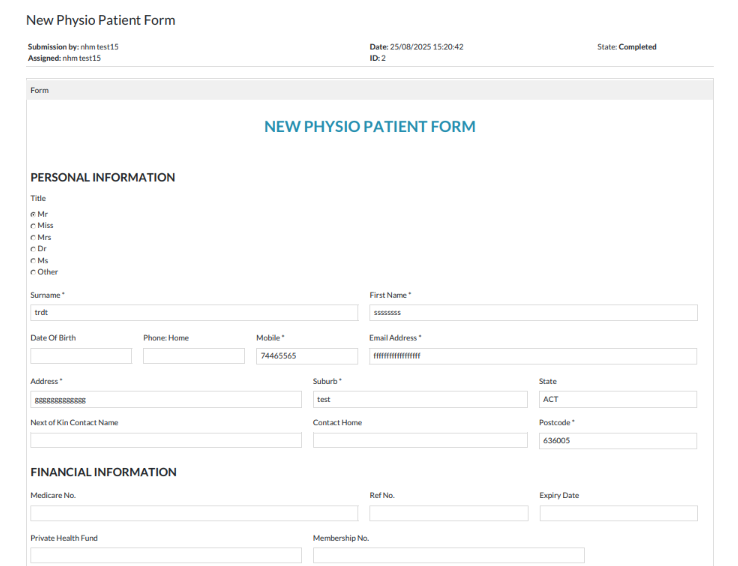
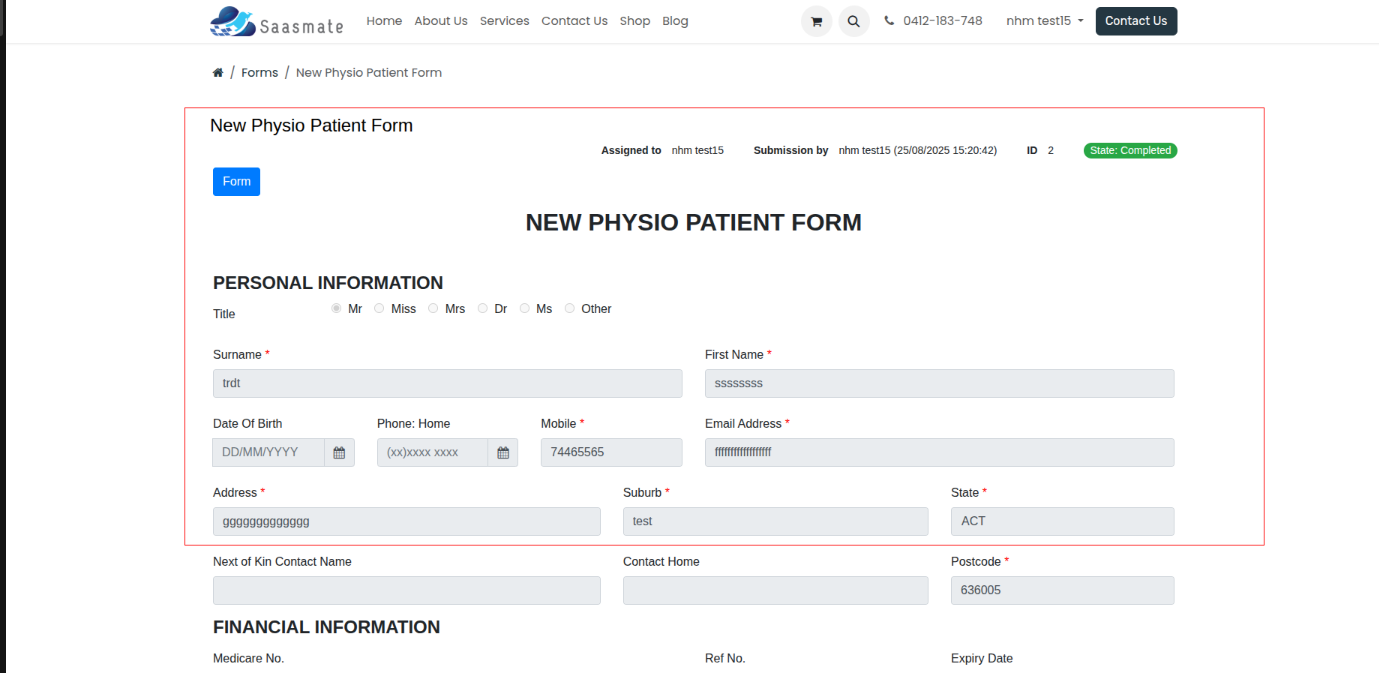
7. If you want to view your submitted form, go to the Forms menu. Here show All submitted forms will be listed there. Click the "View Form" button next to the form you want to see.

8. If you want to download your submitted form, go to the list of submitted forms. Click the "Download Form" button, and the form will be downloaded.